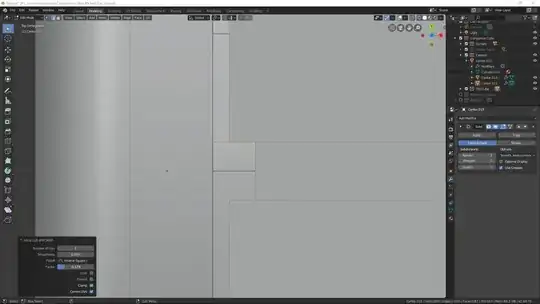
I've only got maybe a week's worth of total experience with Blender and I figured it would be fun to attempt something that isn't overly complex, i.e. something cube-like, so I decided to recreate the Companion Cube from Portal 1.  In modeling and figuring out the center circle pieces I noticed something I missed earlier though. See how to the top of the center circle the pink actually continues into the base of the circle?
I thought I could use loop cuts aligned with the cut out parts of the cube core
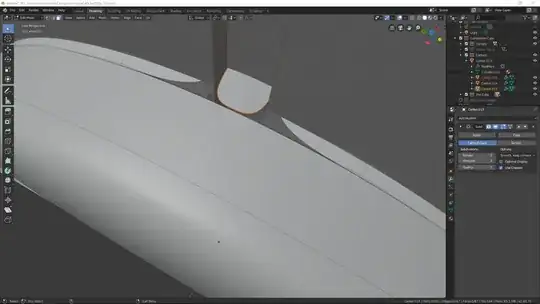
which I would then separate from the rest of the mesh in order to have separate materials but I learned that with a subdivision surface modifier involved the results are not that great.
Is there a way for only the two faces resulting from loop cutting to have the pink material and also not go wacky or am I going about this in a way that won't work?
Thanks in advance for any and all help, assistance, and advice given and shared.


