I'd like to have the smaller rectangle on the right put as the magnifypoint.
Explanation:
The magnified part on the right essentially shows a magnification of the contents on the left, except not quite.
It's the same object, just a different photo (taken by myself) from another angle with another position of the camera. Thus, it's a new piece of content that I'd like to have displayed.
So I need something to draw the fancy rectangles/or whatever shape I choose and lines between some, yet unspecified, parts in the left and right tikzpictures. Note: In the end, I'd like to have multiple tikzpictures in the right minipage.
Picture
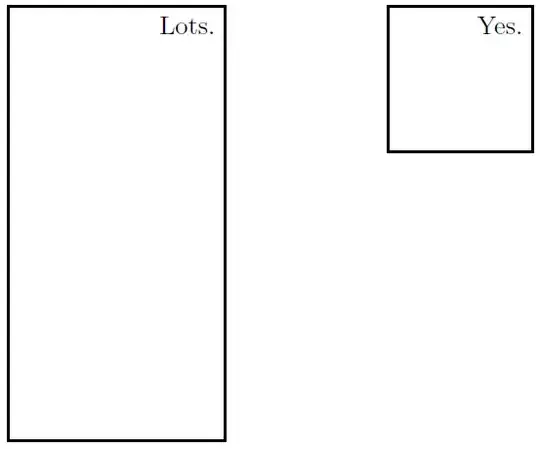
MWE
\documentclass[
a4paper
]
{scrartcl}

\usepackage[T1]{fontenc}
\usepackage[utf8]{inputenc}
\usepackage{lmodern}

\usepackage{
tikz,
}

\begin{document}
\begin{minipage}[t][][b]{0.48\linewidth}
\centering
\begin{tikzpicture}[font=\small]
\draw[thick] (0,0) rectangle (3,6) node[below left] {Lots.};
\end{tikzpicture}
\end{minipage}
\hfill
\begin{minipage}[t][][b]{0.48\linewidth}
\begin{tikzpicture}[font=\small, label=above:bla]
\draw[thick] (0,0) rectangle (2,2) node[below left] {Yes.};
\end{tikzpicture}
\end{minipage}
\end{document}


spy-function ? – percusse Aug 30 '14 at 15:28\spy [black, width=1cm, height=2cm] on (1,1) in node [right] at (2,-0.5) {\includegraphics[width=1cm]{[insert picture file name here]}};. – henry Aug 30 '14 at 15:42spy-function of course works in principle. But I would like to have the subcaptions for the little magnified graphics on the right, so I can't use thespy-function. I still would like to learn of some method to get thespy-look though, with the rectangle and lines between the elements. – henry Aug 30 '14 at 16:01